Subscribe
TO OUR NEWSLETTER
Subsribe to our email newsletter today to receive update on the latest news, tutorials and special offers!
With 40% of households revealing that low water pressure has an impact on their day-to-day lives*, many home owners are often unaware that actually, there could be an easy solution to solve their pressure problems.
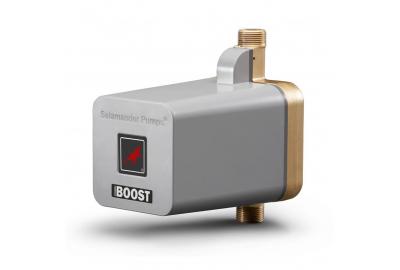
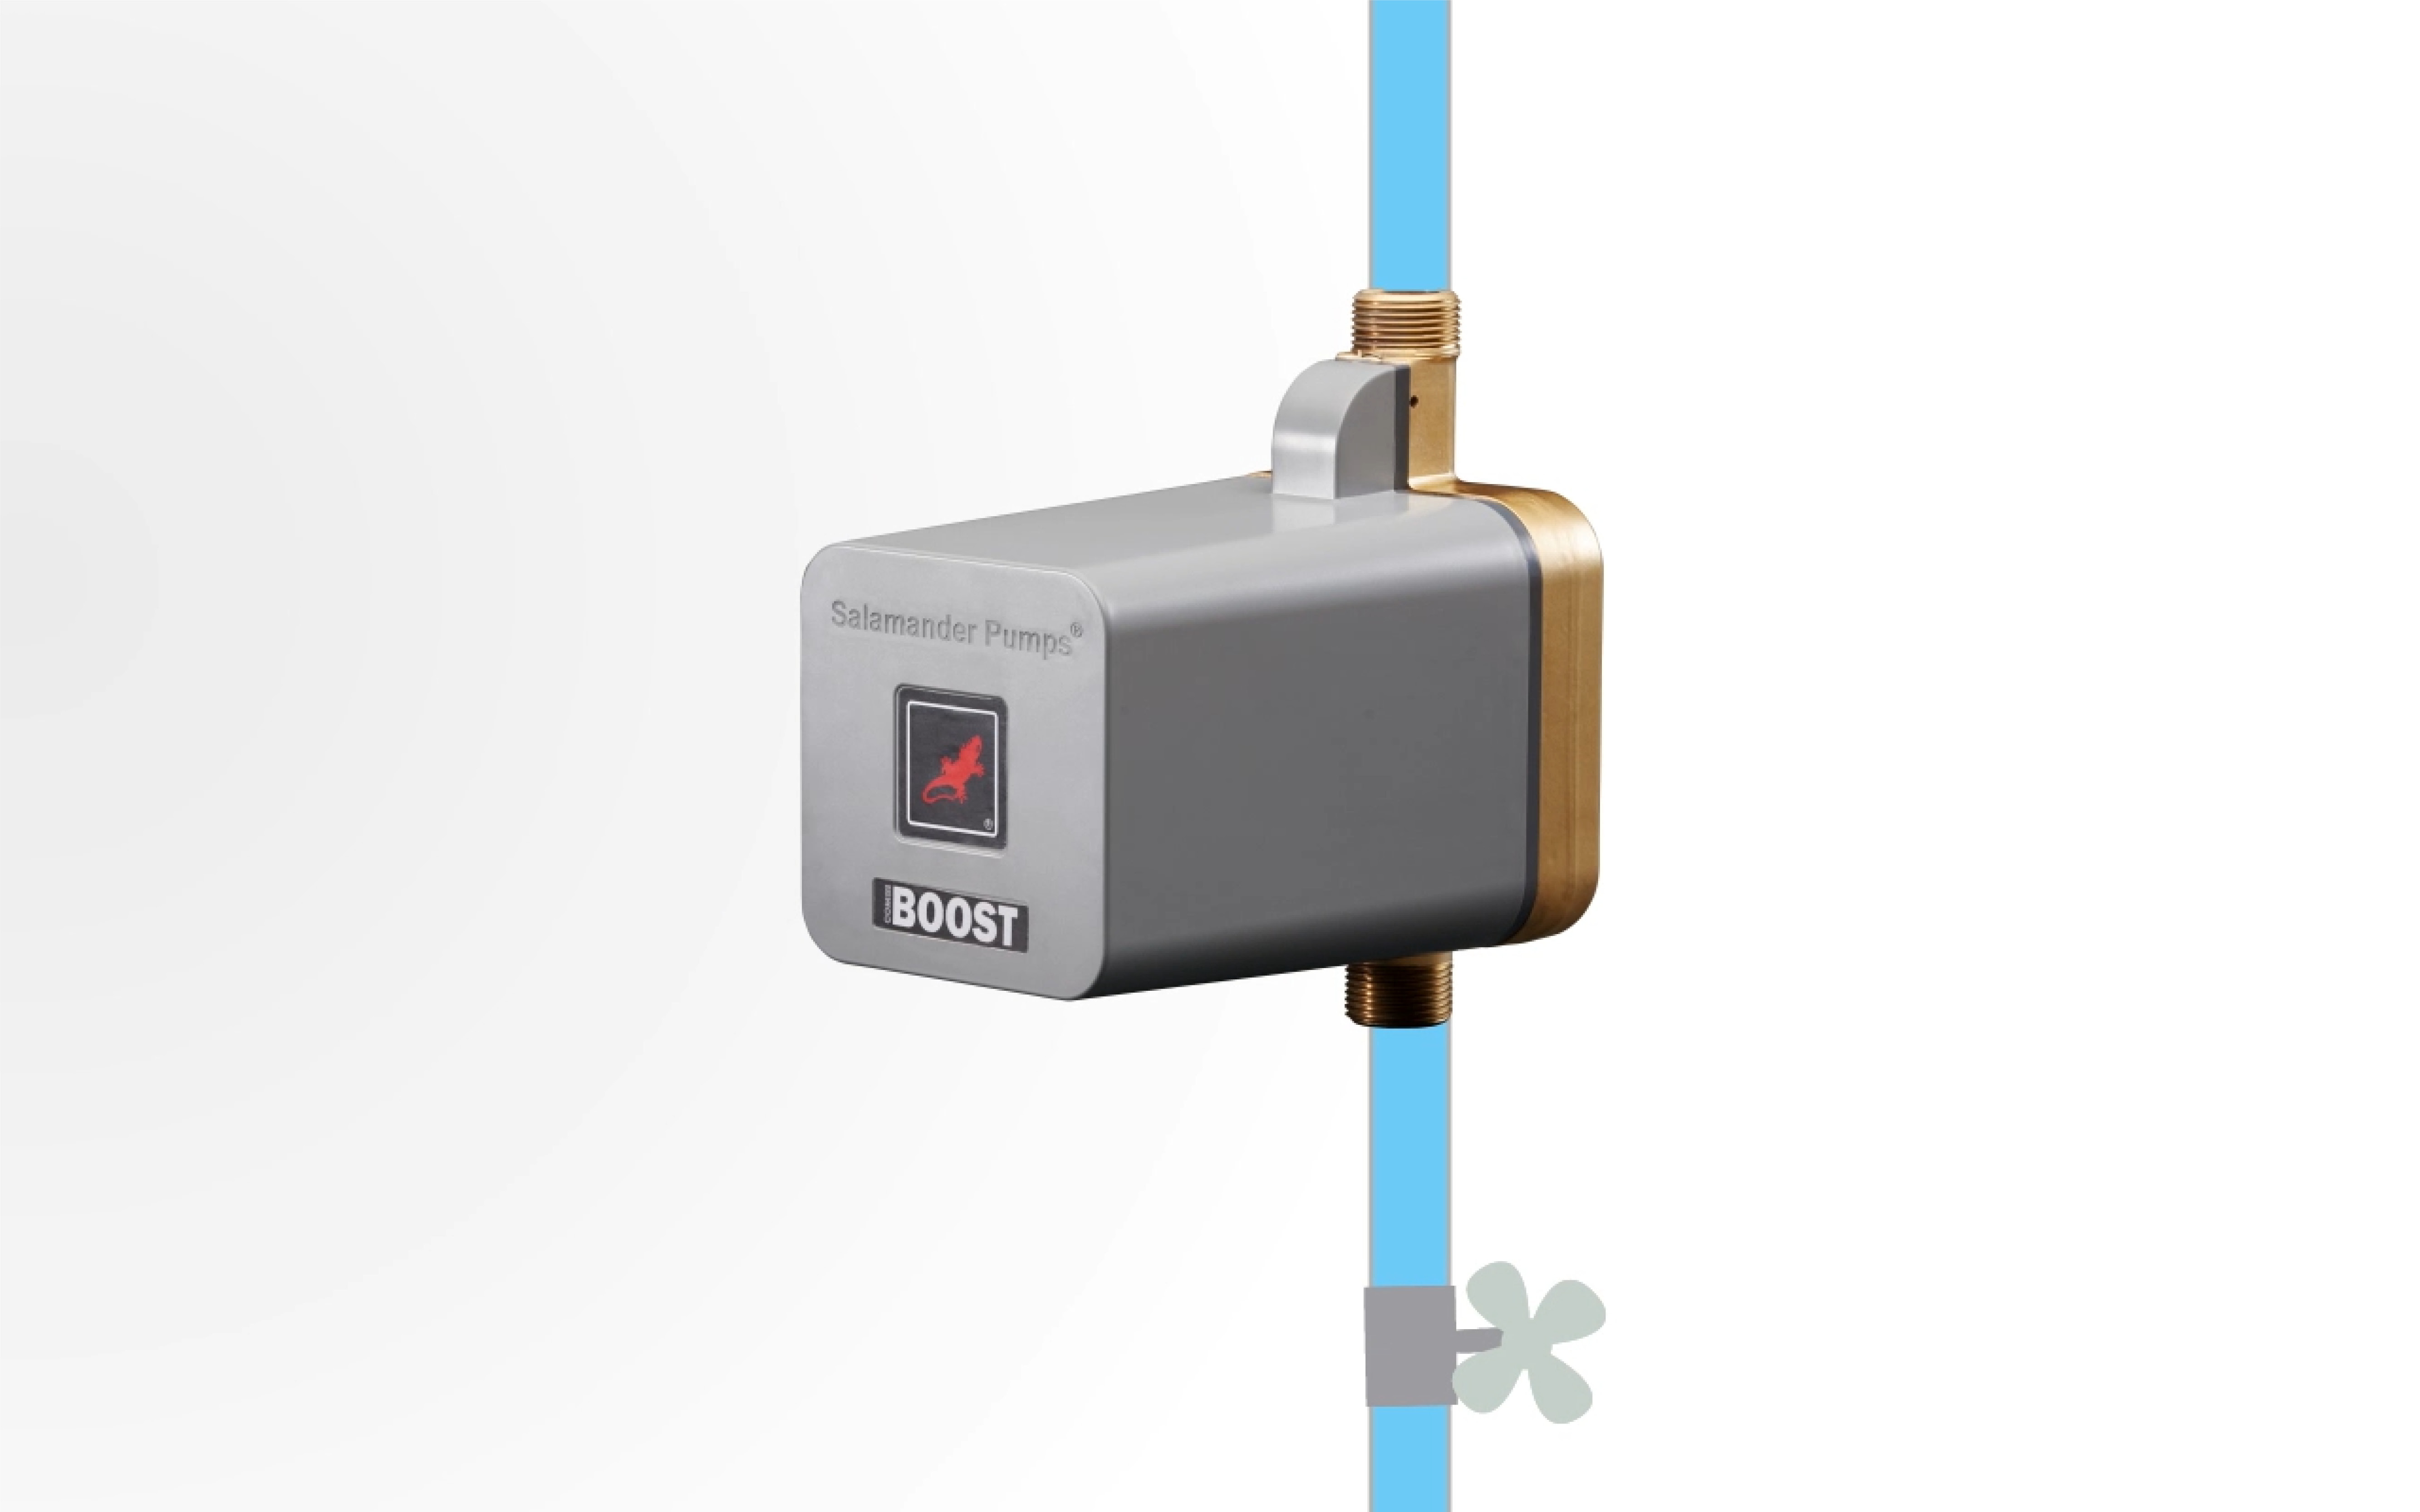
One of those solutions is Salamander Pumps’ CombiBoost – an innovative inline pump that can boost a home’s water flow rate to up to 10 litres per minute (l/min).
Combi boilers have continued to gain popularity over the last couple of decades, and CombiBoost provides an easy solution to boosting mains pressure for any home with this type of system.
Here are the steps to help you install the CombiBoost pump.
Pre-installation
Before beginning the installation process, you should always read the installation guide. This is your first port of call and should be reviewed for each install.
The pump should be fitted directly into the incoming mains supply either just after the stop-tap or just before the combination boiler. It is advised to position CombiBoost near the stop tap, installing either vertically or horizontally ensuring there is adequate airflow to cool the motor, and ensuring that it is separated from any other appliances that generate heat.
Installation
Begin your installation by unboxing the pump and reading the installation guide, this is key to avoiding common installation pitfalls. You can now begin to install the pump, here’s how to do it in eight steps….
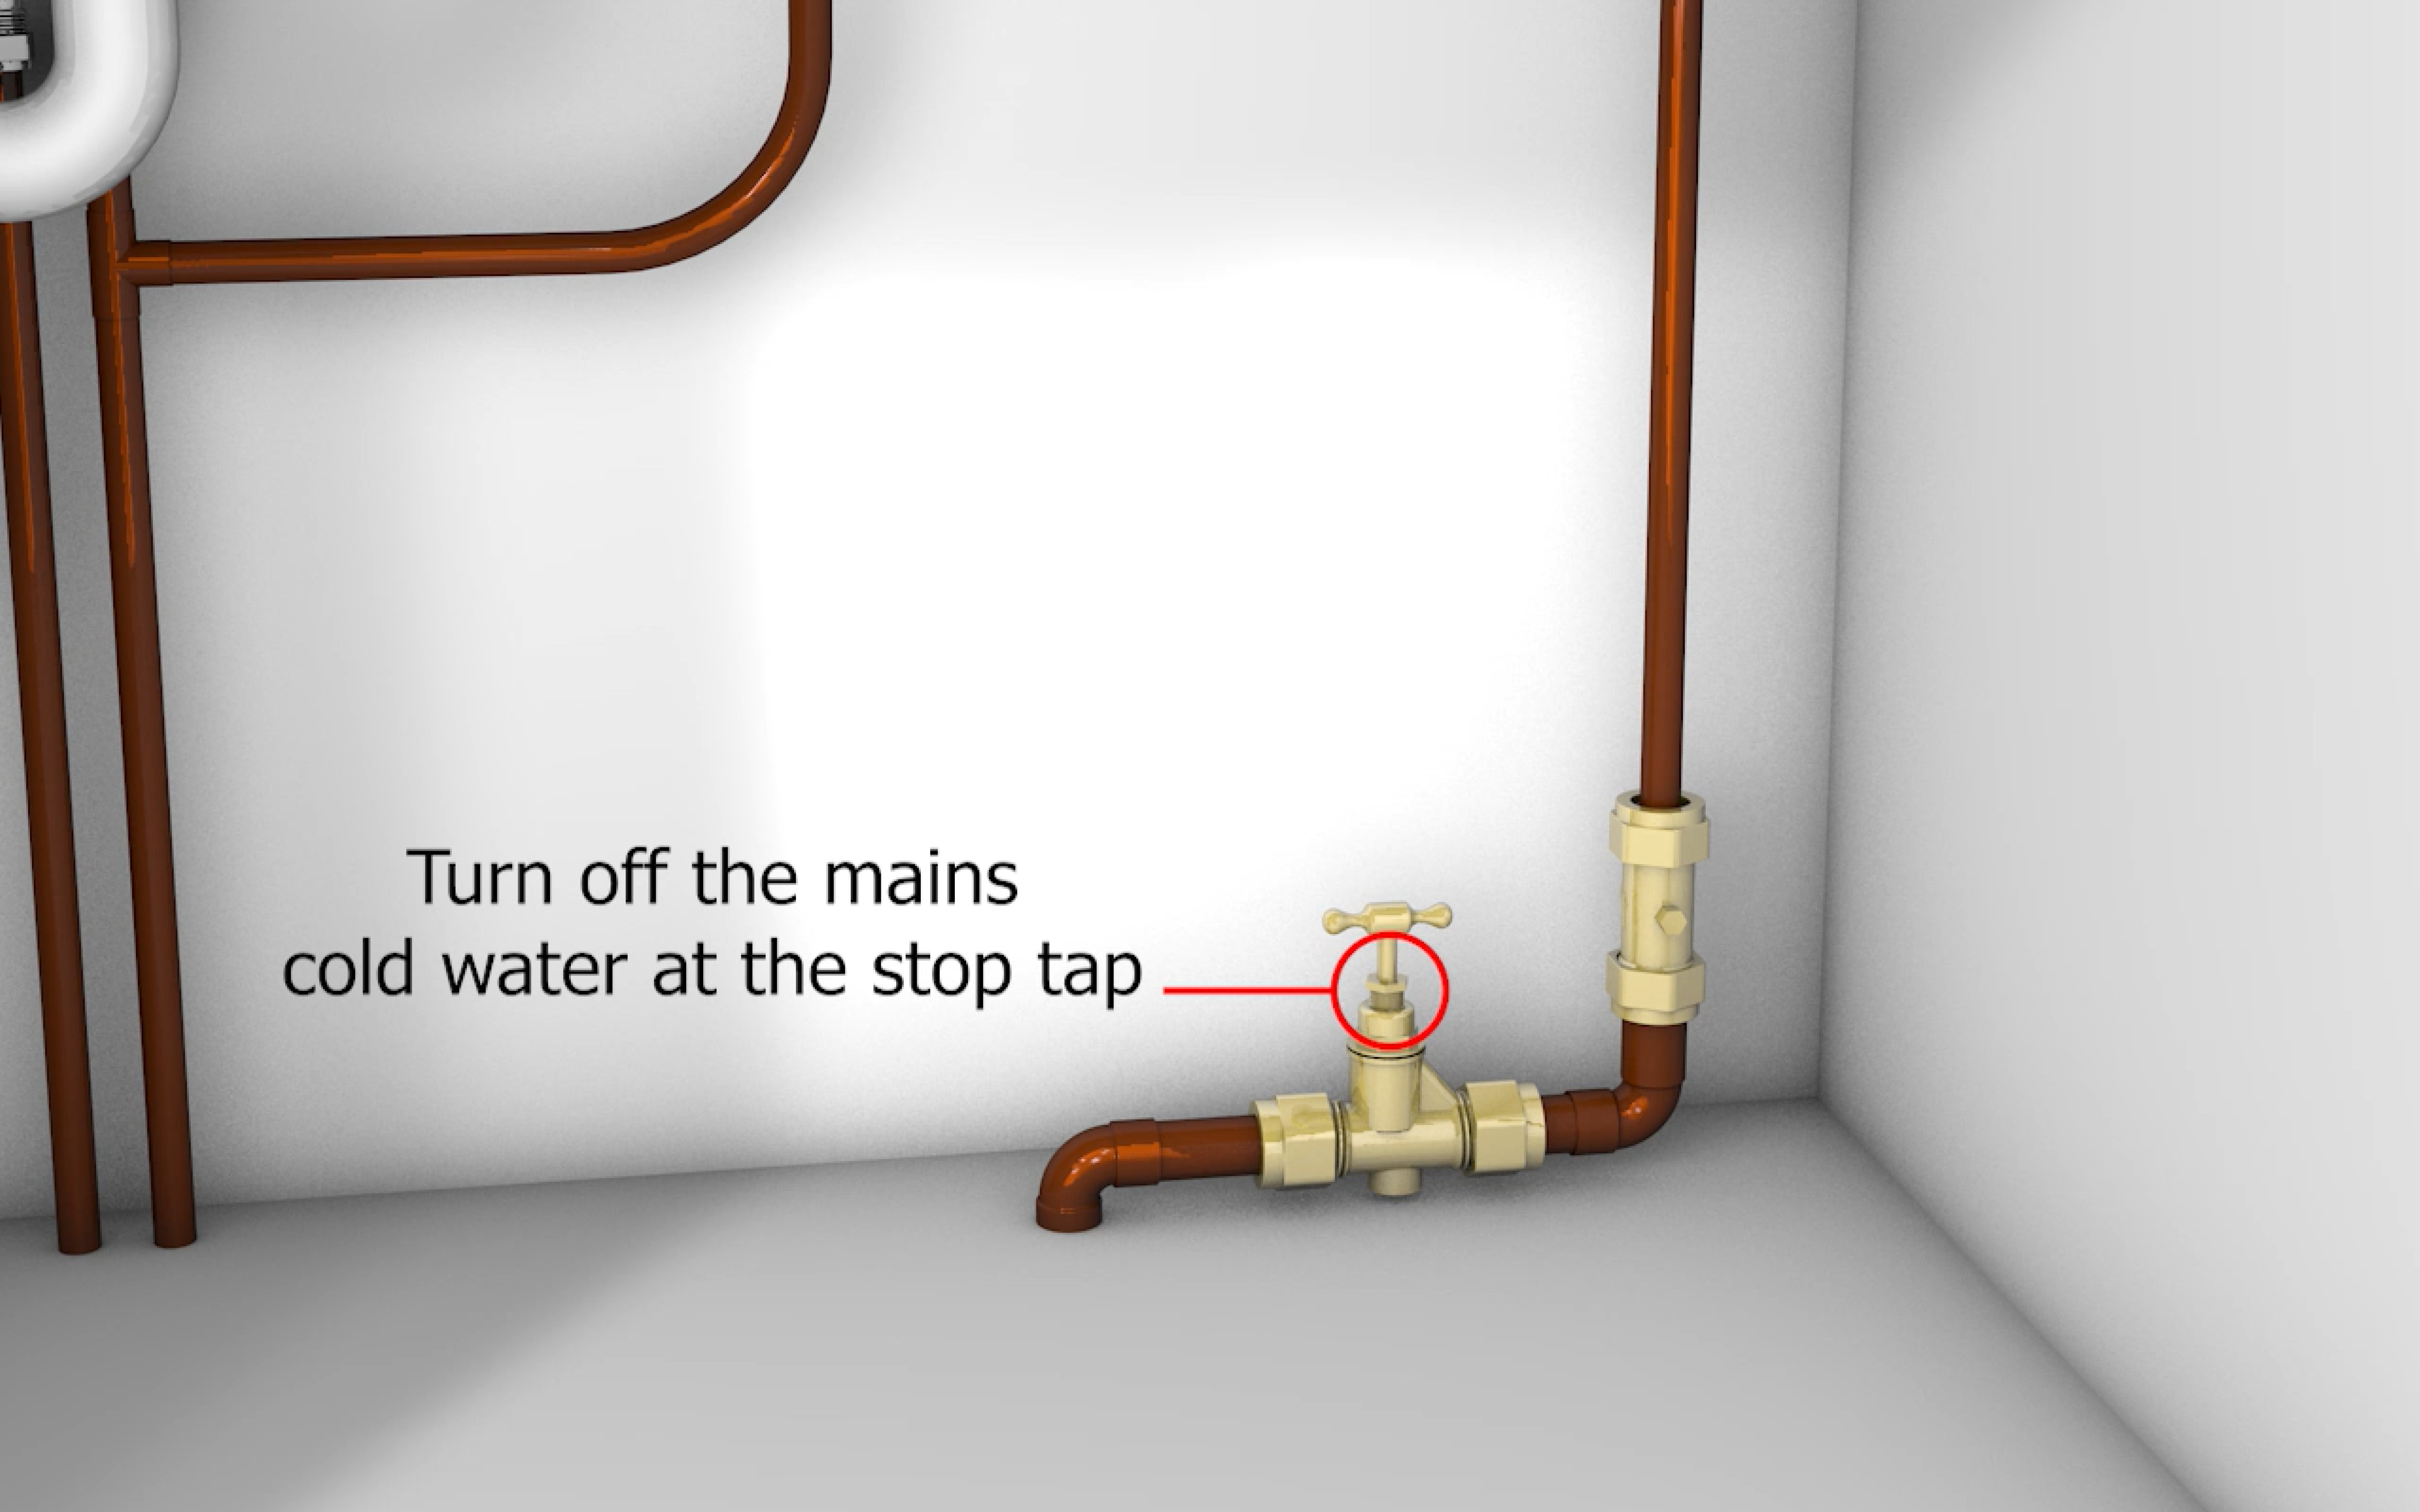
1. Turn off the mains
Make sure to turn off the mains water supply at the stop tap and drain down the system.
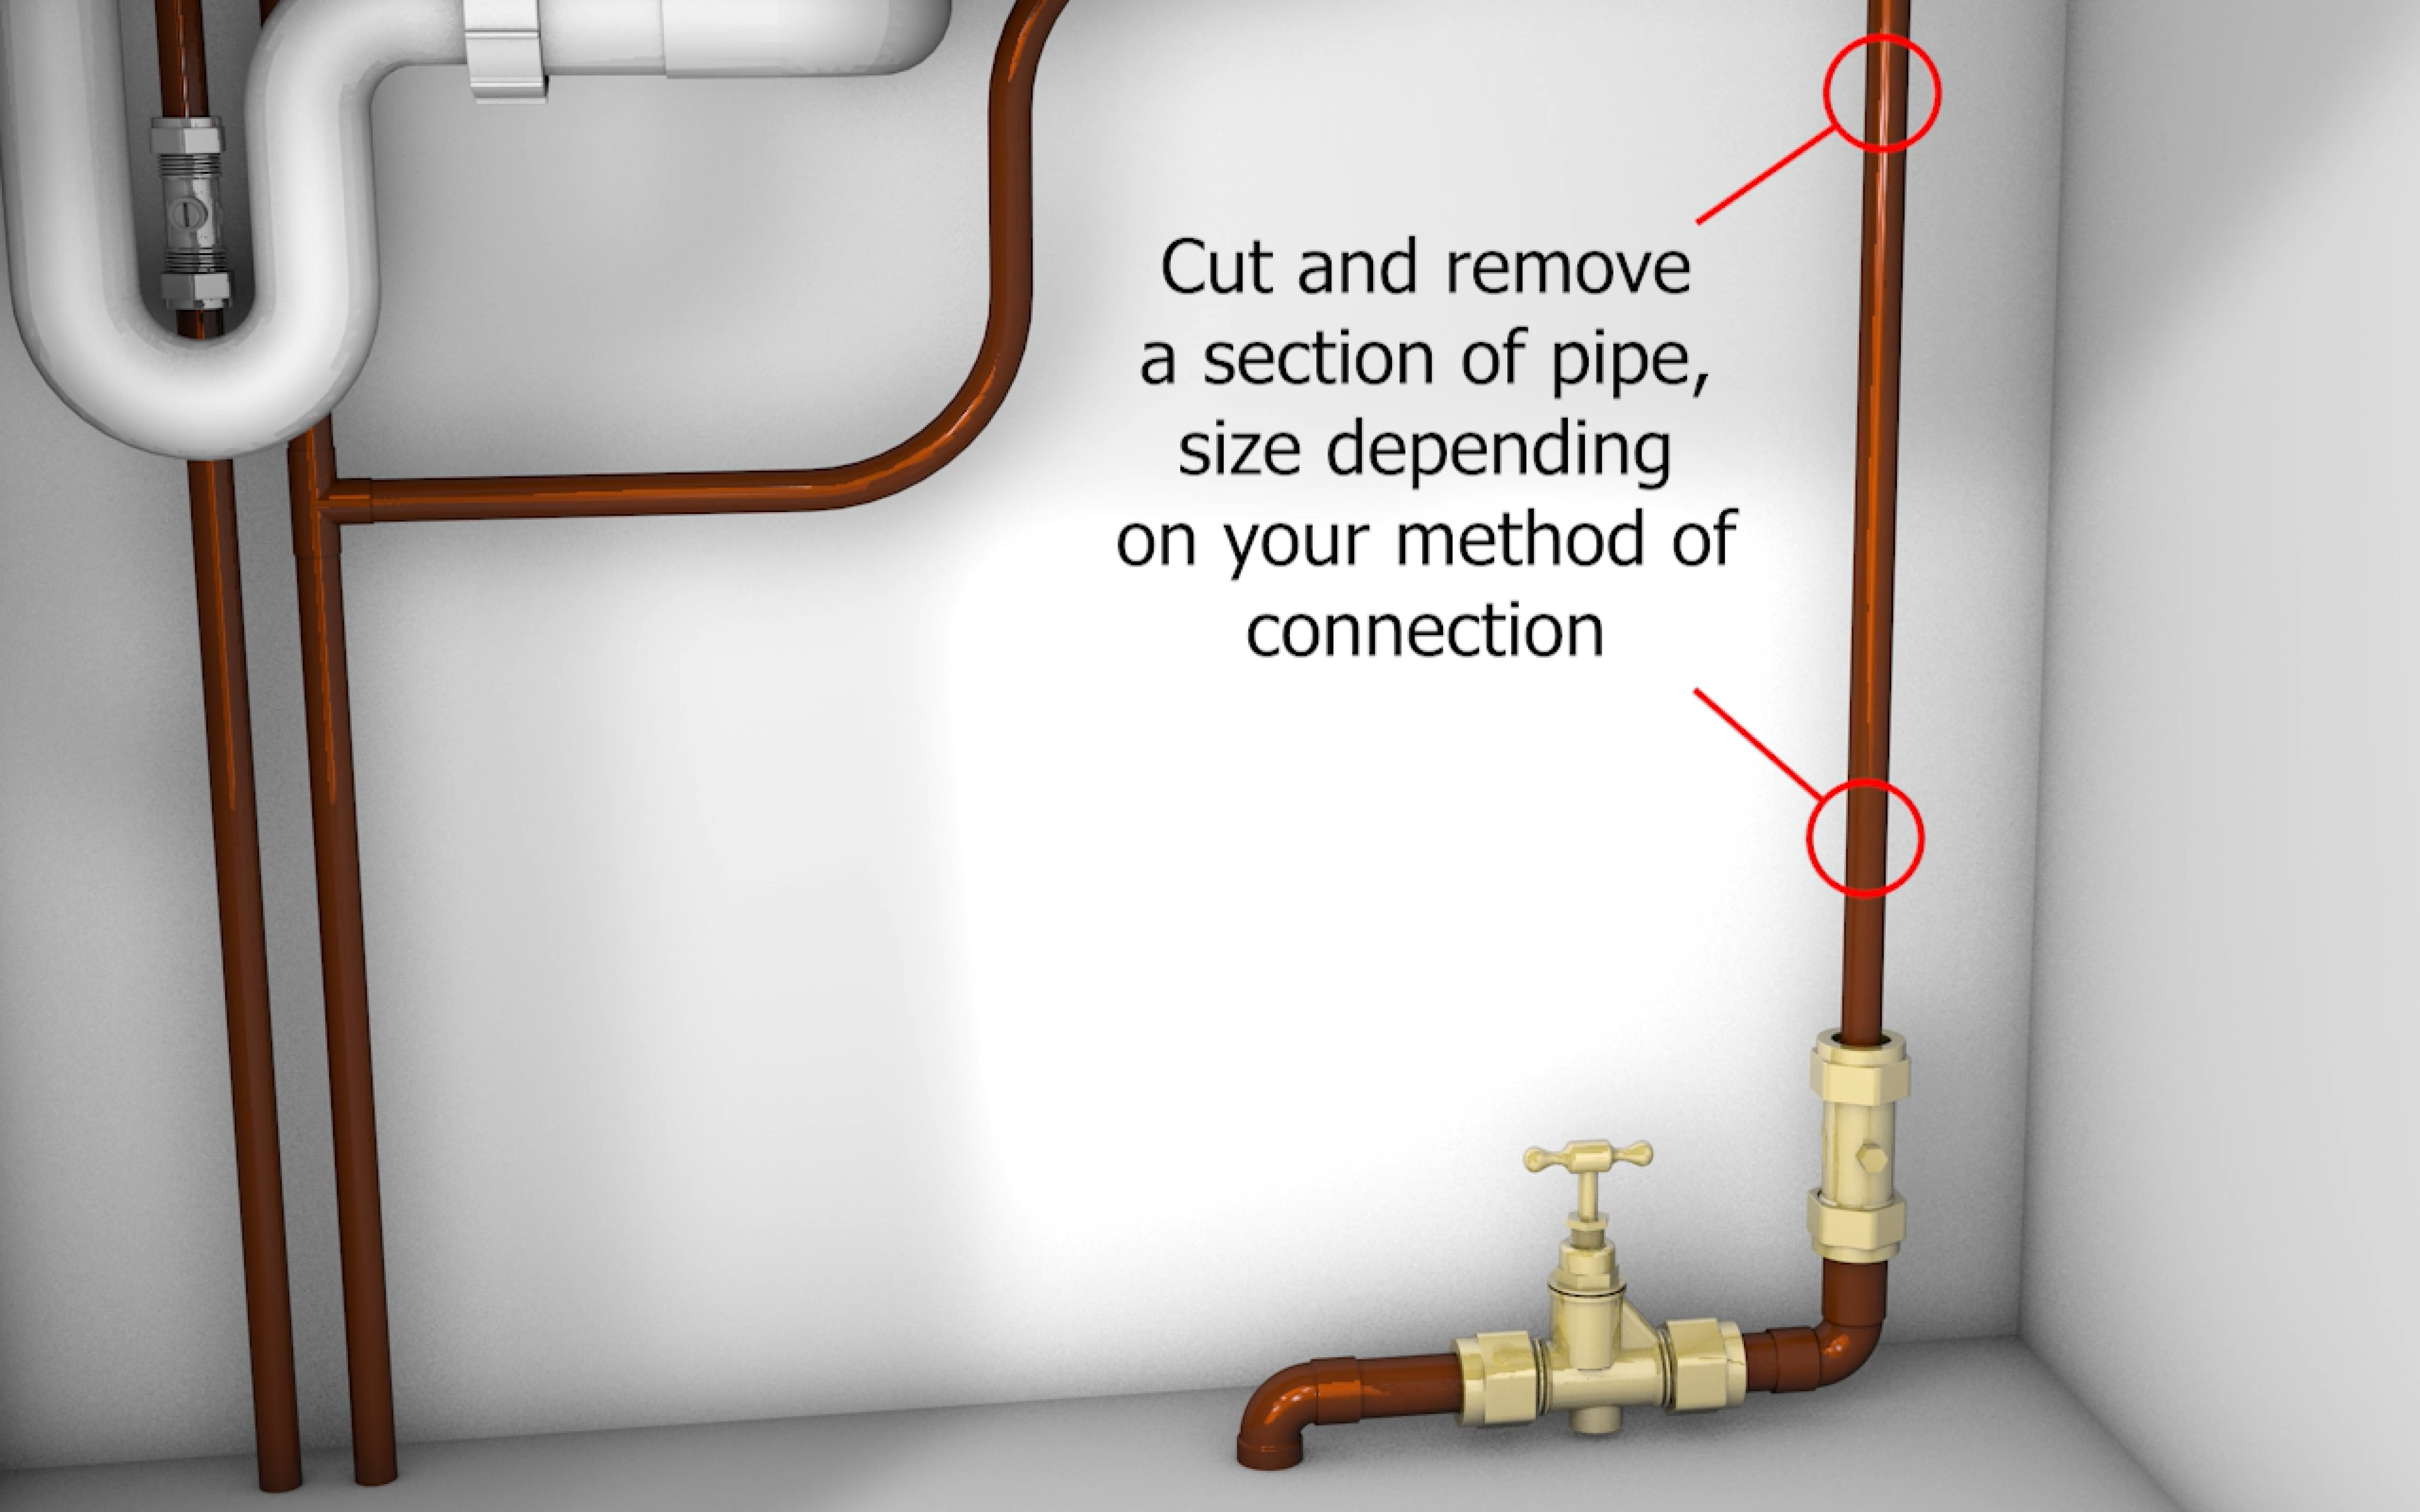
2. Cut the pipe
Next, cut and remove the required section of the pipe. You must ensure the size of this section at least exceeds the 175mm height of CombiBoost, allowing enough space for both the pump and required fittings.
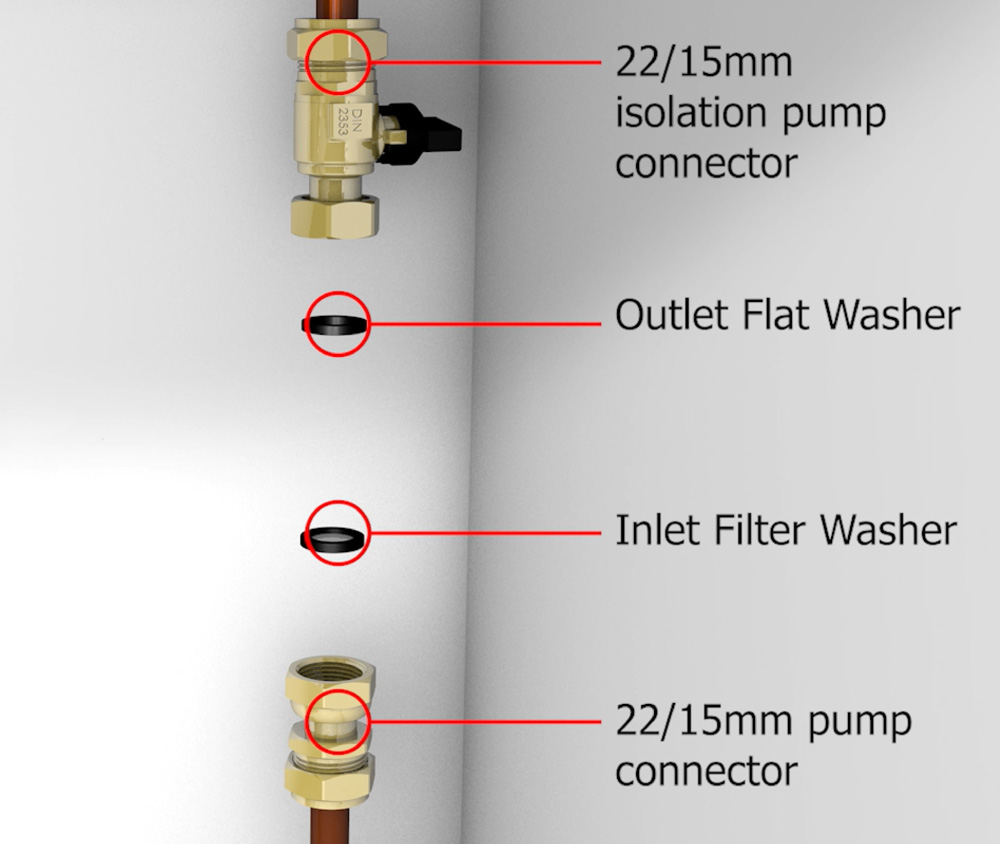
3. Attach fittings
The CombiBoost pump requires 15mm or 22mm isolation pump connections, along with an outlet flat washer and inlet filter washer, fitted as per the below.( Fittings kit available separately.)
4. Connect the pump
Now, you can introduce the CombiBoost pump into its location and gently connect it to the pipework.
5. Turn the mains water on
You can now switch the mains water back on at the stop tap.
6. Run the tap
With the CombiBoost installed, you will then need to open the isolation valves, checking for any leaks as you go.
Flush the inlet pipework and fully fill the pump with water by opening all the water outlets before electrically switching the pump on. It is critical to discharge water through all the outlets, using natural flow before switching the pump on electrically. This will ensure that the air has been discharged from the connecting pipe work and pump chamber.
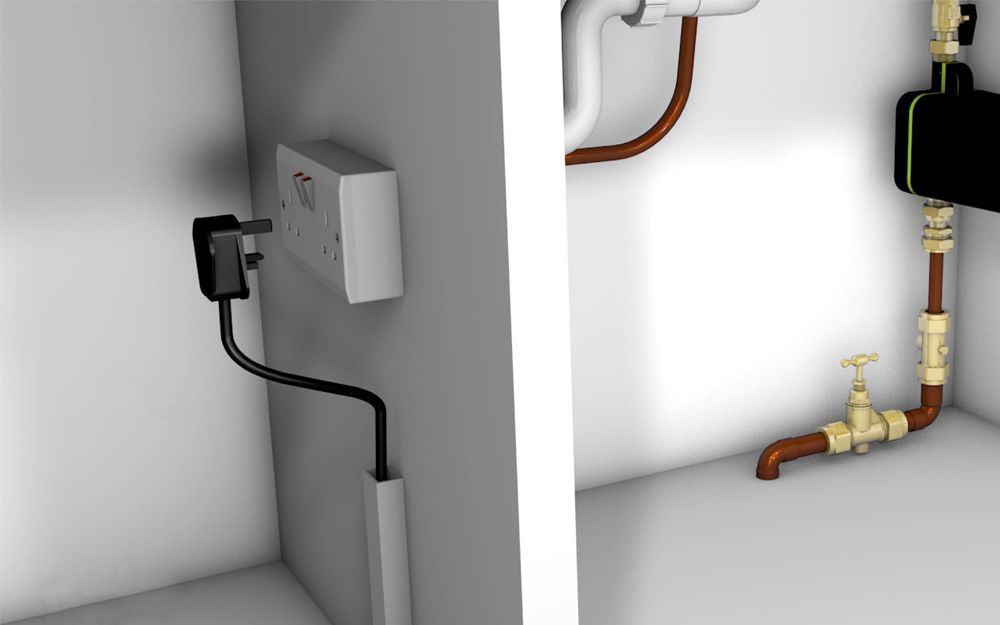
7. Plug the pump in
Once you have ensured all air is purged from the system, checked for natural flow on the cold outlets, and inspect for any leaks, you can now plug in the the pump or connect it to a fused spur.
8. Check it’s active
The pump should now be active, you should be able to hear the mechanism rotating when an outlet is opened.
Once the installation is complete, you will see an improved shower performance, quicker bath fill times and stronger flowing taps.
Find out more about Salamander’s CombiBoost and other inline pumps here.
*Survey conducted by Censuswide in 2018 on behalf of Salamander Pumps, polling 2,005 UK households