Subscribe
TO OUR NEWSLETTER
Subsribe to our email newsletter today to receive update on the latest news, tutorials and special offers!

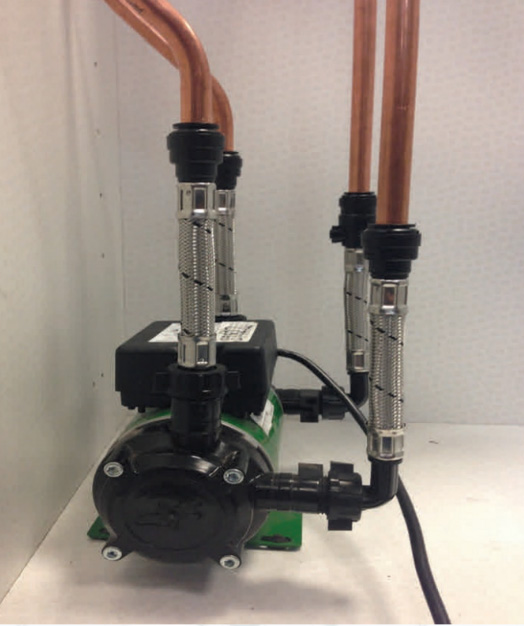
Salamander Shower Pumps are designed and engineered to ensure a long and maintenance free life. Every pump is individually tested for safety, performance and quality of workmanship. Salamander Pumps are strong, durable and user friendly.
If you are looking to replace your current Salamander CT shower pump with the Salamander CT XTRA shower pump, the steps below will show you how.
1 - Locate the pump that is to be swapped and isolate the electrical supply. The supply will usually be a fused spur or plug and socket.
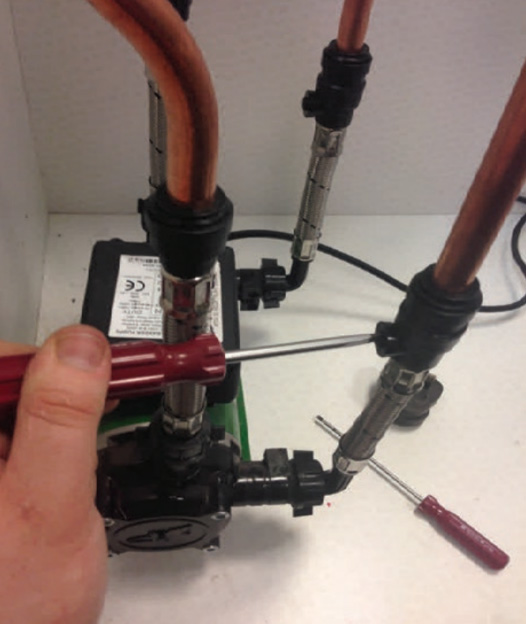
2 - Usually the pump will have its own isolating valves to turn the water supply off to the pump. These valves can be turned a quarter of a turn with a flat head screwdriver.
3 - Both sets of hoses can now be removed from the pump - there will be some residual water in the hoses and pump, so it may be worth using a cloth to catch the excess.
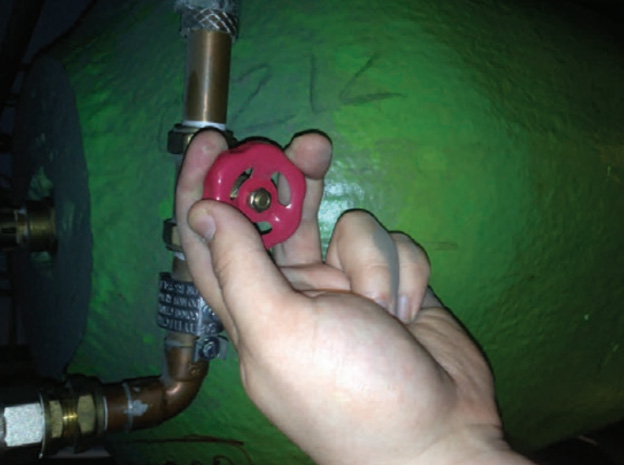
4 - At this stage you can locate the main isolation points for both the hot and cold water if there are none closer to the pump. The hoses from the existing pump can now be used to drain the pipework. Before removing the hoses from your installation.
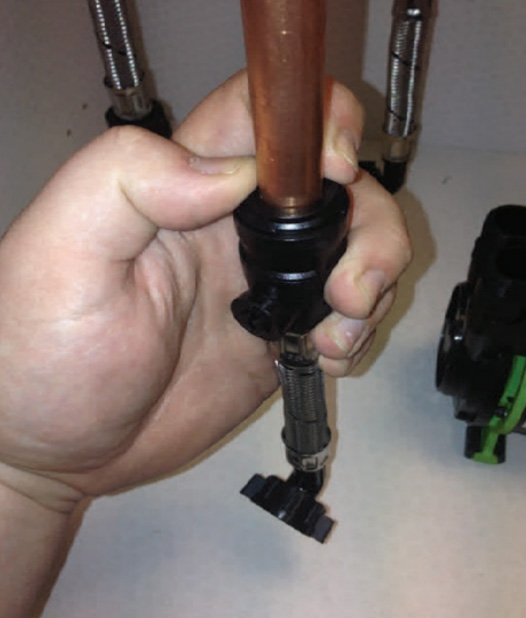
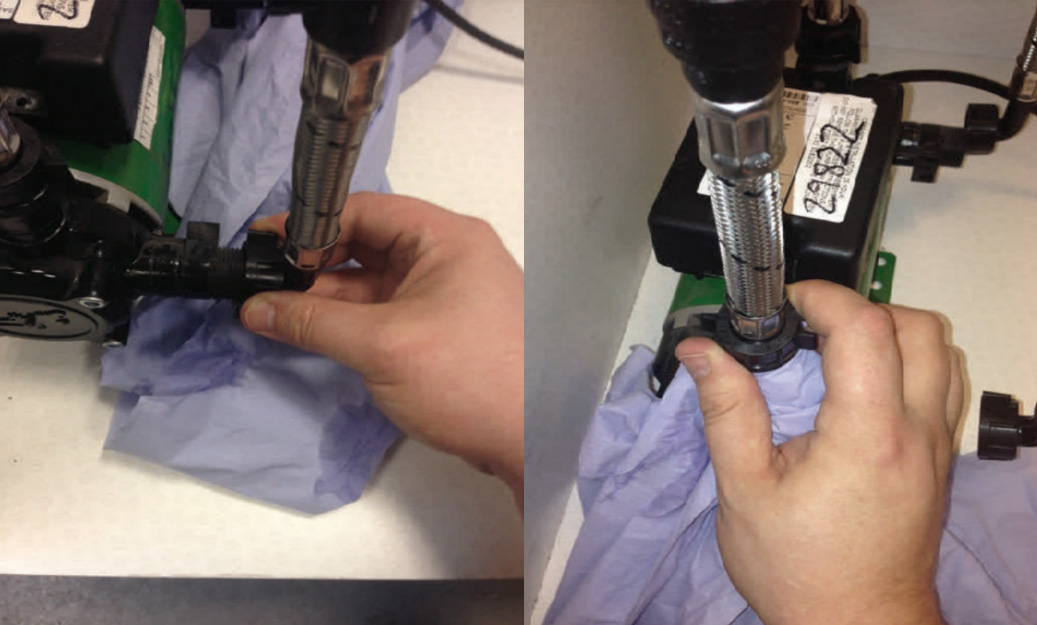
5 - The existing push - fit hoses can now be removed by pushing the gripper ring towards the hose and sliding the body away from the pipe - depending on the installation the outlet hoses may be suitable for the new pump without changing them.
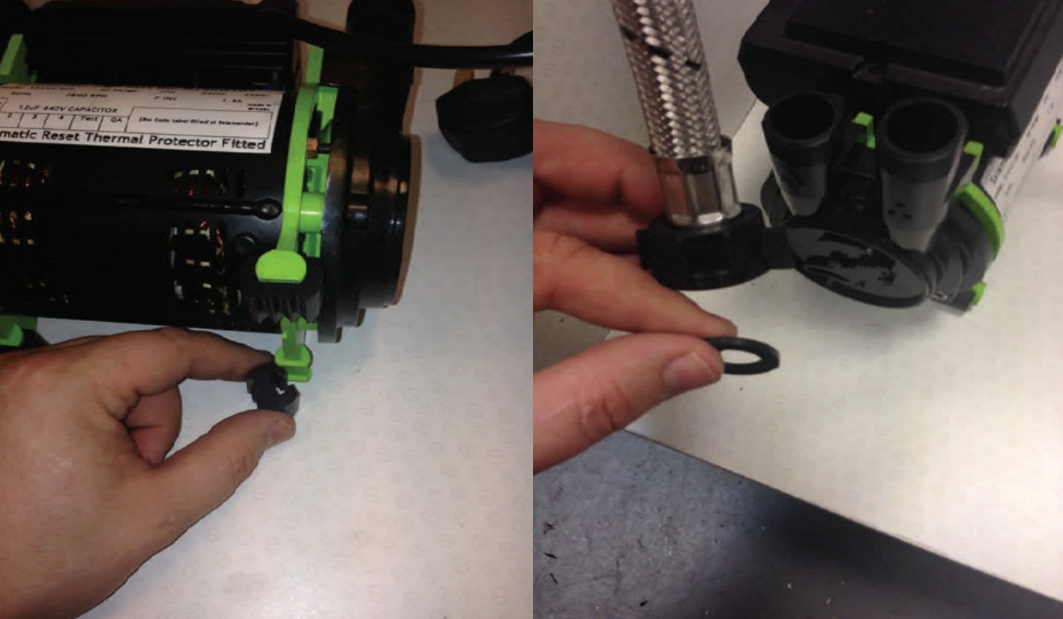
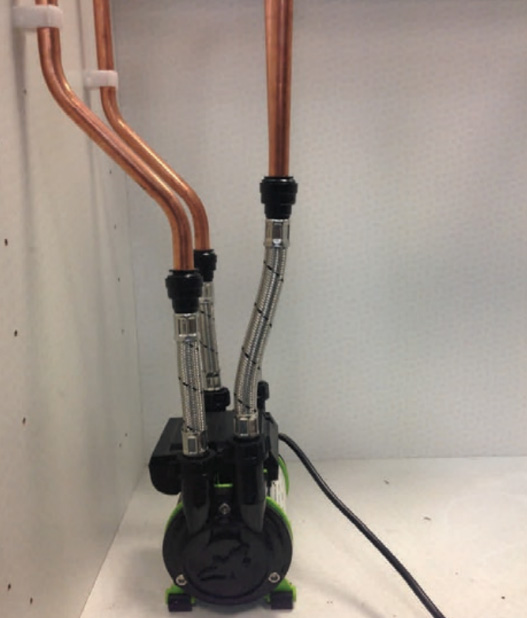
6 - The new pump can now be unpacked, the noise reducing rubber feet fitted and the pump offered up to the installation - if the installation will allow, the outlet flat washer can be fitted and the pump connected to the outlet pipework. If the installation will not allow this, the new, longer hoses may be used following the next steps...
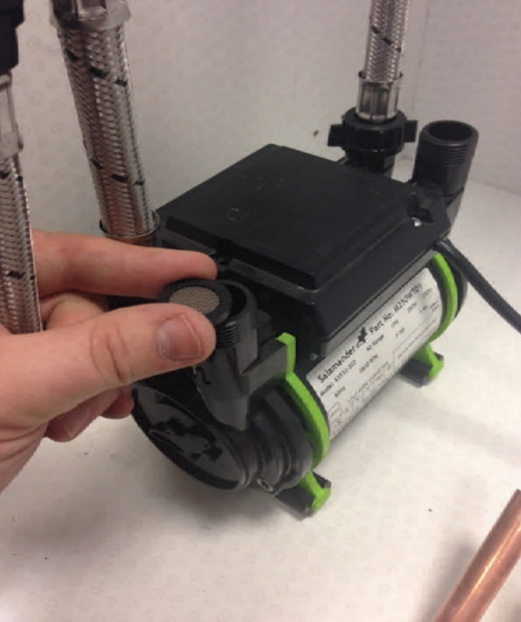
7 - The inlet filter washers must be installed and the new longer hoses can be attached to the pump.
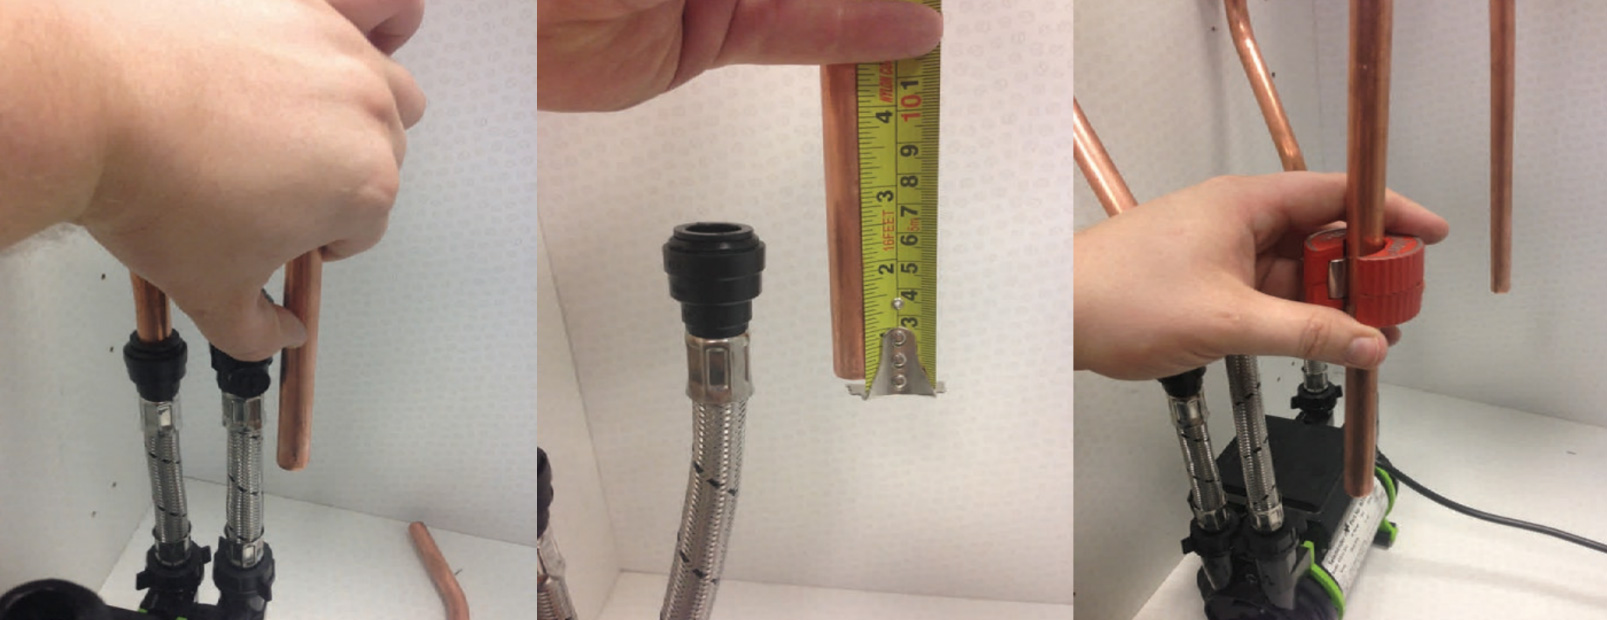
8 - Once the pump and hoses are in place, it will be possible to mark or measure how much of the inlet pipework will need to be trimmed back using a Pipeslice or Pipe cutter.
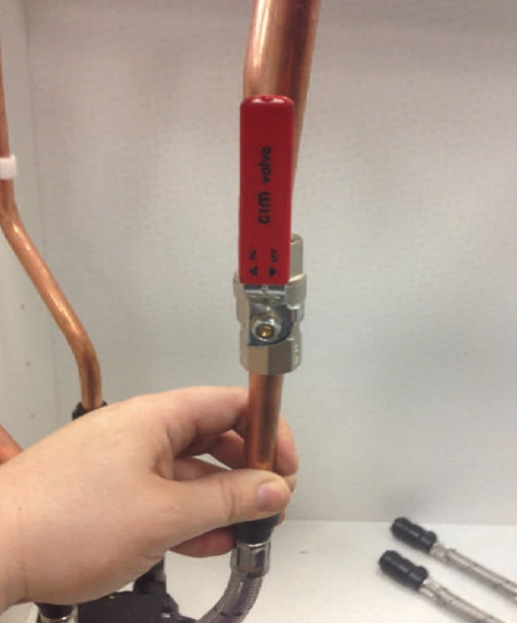
9 - At this stage, it may be helpful to install some full bore lever vavles On the inlets to the pump if the pump does not come with any.
10 - Now, the water can be turned on, and you can check your connections for any leaks.
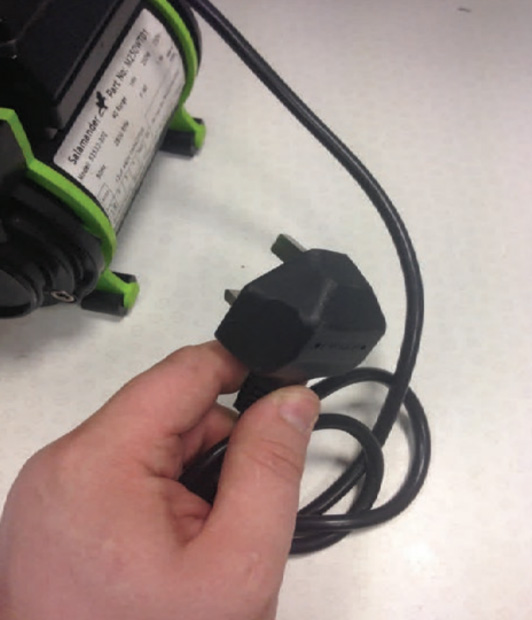
11 - When everything is watertight, open any outlets so that a natural flow under gravity can fill the system, it can be plugged in, or the plug removed and wired into a fused spur so that the pump can be fully tested.