Subscribe
TO OUR NEWSLETTER
Subsribe to our email newsletter today to receive update on the latest news, tutorials and special offers!
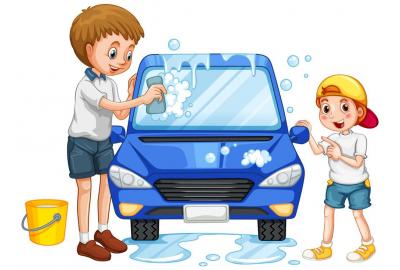
For Some washing a car is quick and easy but for some washing our pride and joys can be a long task !
So how can you wash your car safely in this heatwave and upcoming winter? Well, this blog post will have some of the main and best ways to do this!
Cars get particularly dirty every day from dust, those pesky birds and general driving use, Road grime, pollen, rain, and in the upcoming winter months, salt and grit on the roads. Your car/vans bodywork and wheels take a real hammering. Washing and drying your car is where most of the damage to your paintwork can occur, increased road contaminants make it easier than ever to inflict swirl marks and fine surface scratches. So, it’s even more important to get the washing process correct!
Step 1 – Using a "Pre Wash Cleaner"
Firstly, Ensure your car is out of direct sunlight (if you’re lucky enough to have any in this summer heatwave we are having).
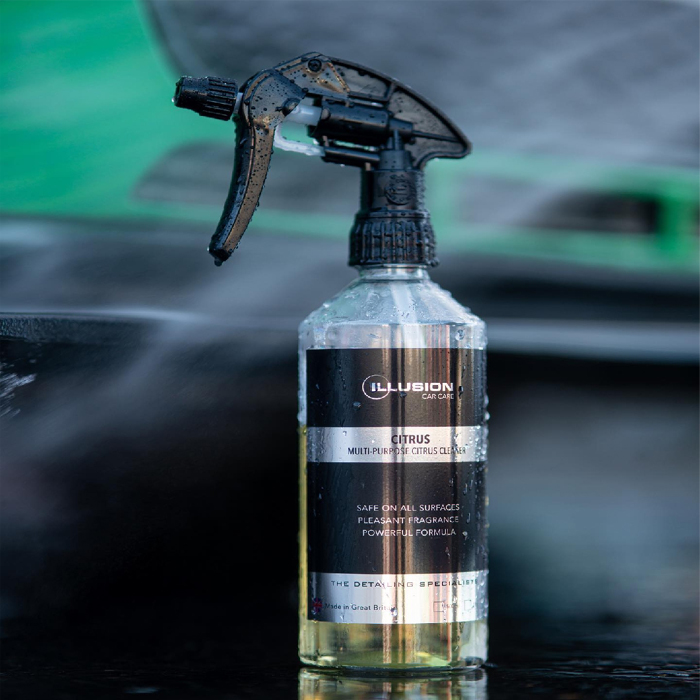
To help try and aid the reduction of swirls it’s a good idea to use a “Pre-Wash Mix” which you can buy pre diluted or ready mixed, this is a formula made to help lift the dirt from within the paint work to stop your swirling it around the car with your wash mitt. A pre-wash will normally need only a few minutes to start to work before washing off the car with a pressure washer.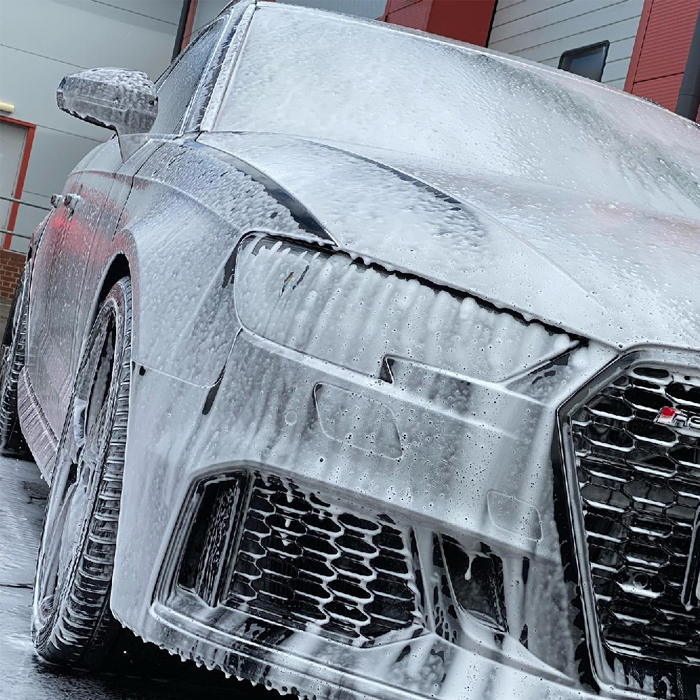
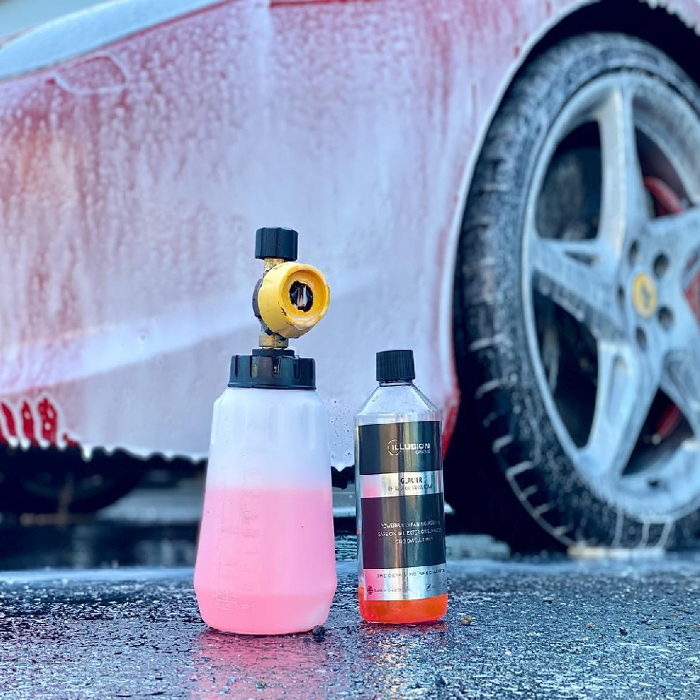
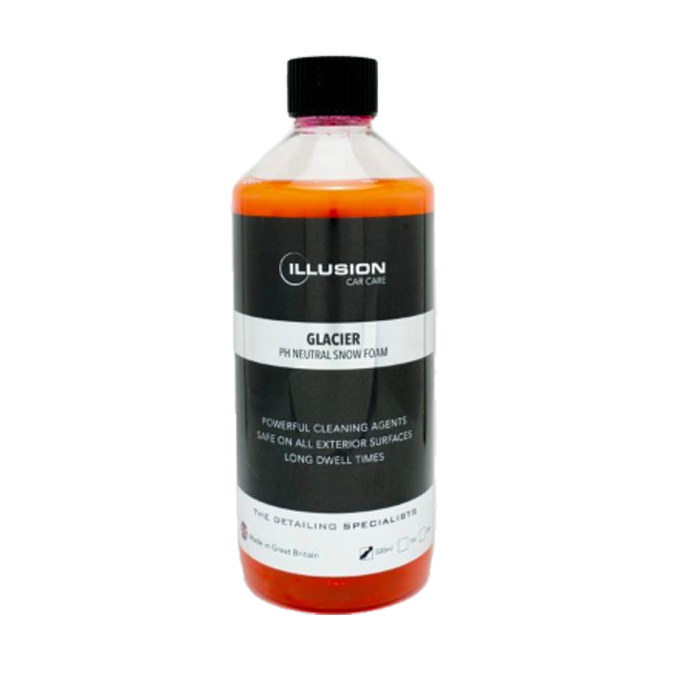
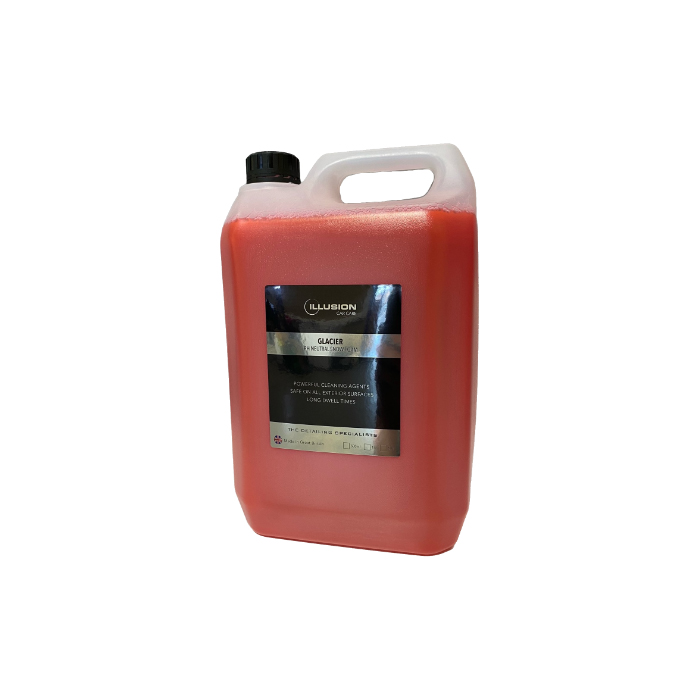
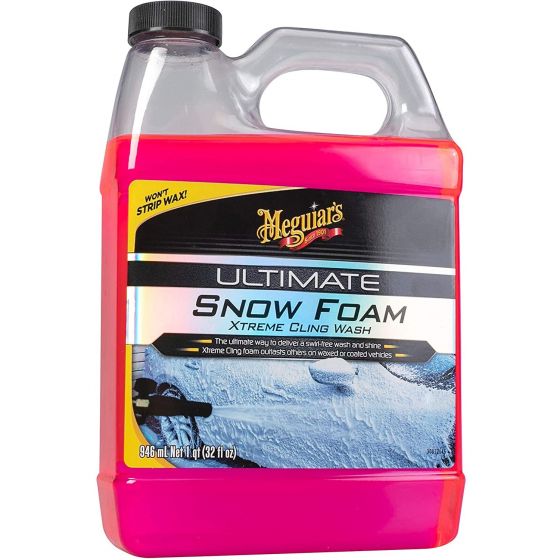
If you have a pressure washer, then snow foam is a brilliant idea for loosening and removing large particles of dirt and some would say it looks pretty too “ha”.
During the worst of the weather the Snow Foam system can prove invaluable once again because it will remove any extra dirt you cannot see, meaning it another “SAFE” way to lift the dirt of your vehicle.
Snow Foam will need to be poured into the lance that will attach to the most popular pressure washers (Please check the connection you may require), depending on the lance bottle you have you will only need to pour a small amount in as per the instruction on the snow foam itself, and then topped up with warm water.
Once that is done you are ready to turn your car into one car-shaped snowball.
It will now produce a combined thick (depending on dilution), foamy solution all over the vehicle. The bubbles lift larger particles of dirt and grime away from the surface of the paintwork allowing it to be freely rinsed away. With the larger particles removed and the underlying particles loosened washing the vehicle will be much safer for the paintwork and much easier for you!
Spray the Snow Foam directly on to the vehicle without pre-rinsing it – Snow Foam works best when used on a dry surface. Spray it all over the vehicle bodywork and allow it to dwell for about 3-4 minutes – you will see the foam start to change colour as the dirt is lifted away from the surface of the paintwork. Rinse the foam off using clean water from a pressure washer, not forgetting to clean under the wheel arches.
Step 2 – "Wheel Cleaning"

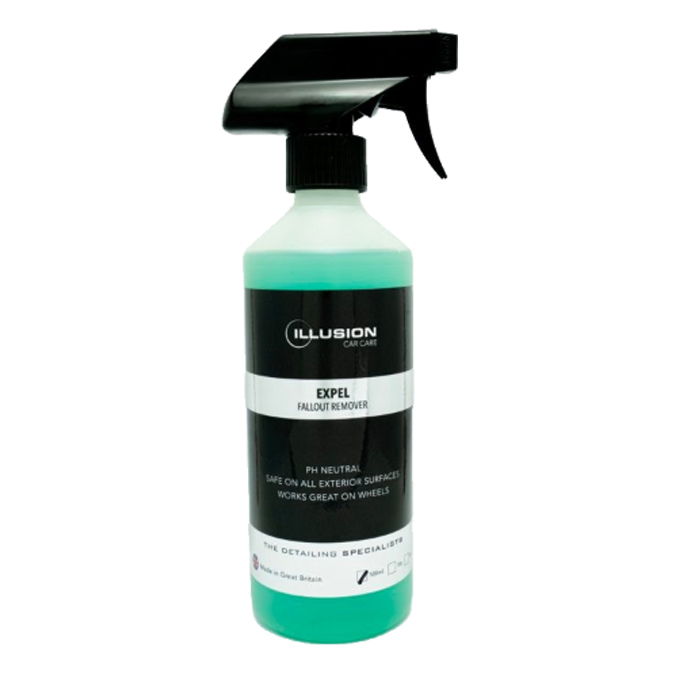
Many wheel cleaners are either acid or alkaline based cleaners which strip off any wax protection, degrade sealants and in the worst-case scenario, strip the lacquer off the wheel!
It’s important then to choose a gentle wheel cleaner to prevent this from happening. Ideally, thoroughly clean each wheel using a pH Neutral cleaner, a microfibre wash mitt or a wheel brush to safely clean hard to reach areas. Rinse well using a pressure washer or strong jet of water.
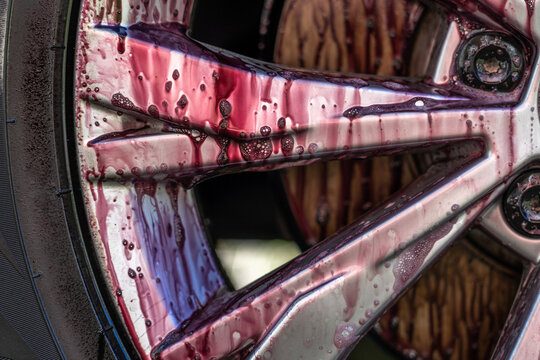
Some of the harsher brake cleaners will be know as "blood rain" or "purpler rain" as can be seen in the picture above, this is because its reacting with the brake dust and any other contaminates which will cause the reaction to go purple. This is fine, as can be washed off after 2 - 3 minutes with a strong blast from your pressure washer do a deep clean with your mitt/wheel brush.
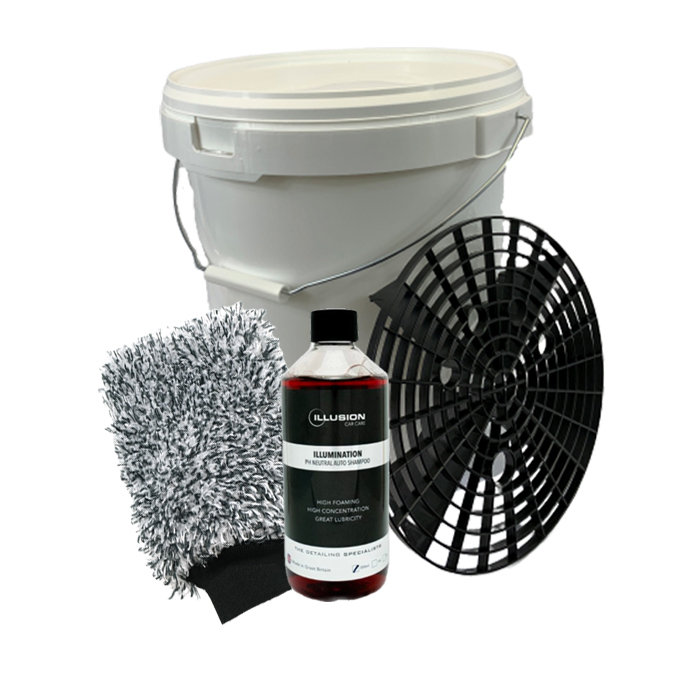
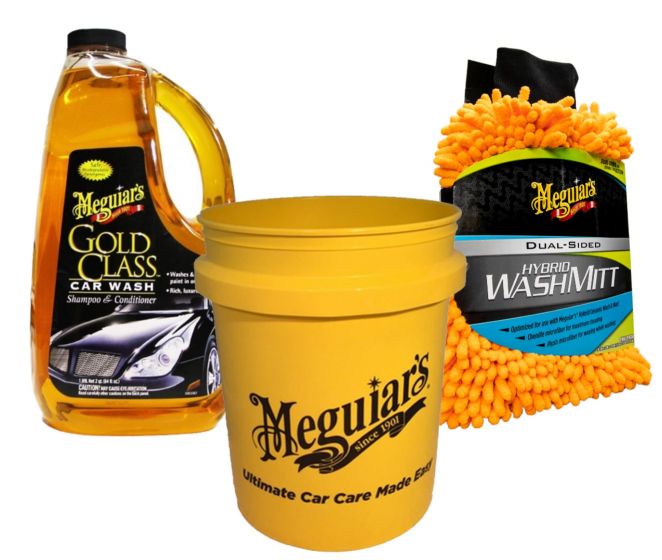
Step 3 – Choose Your Shampoo
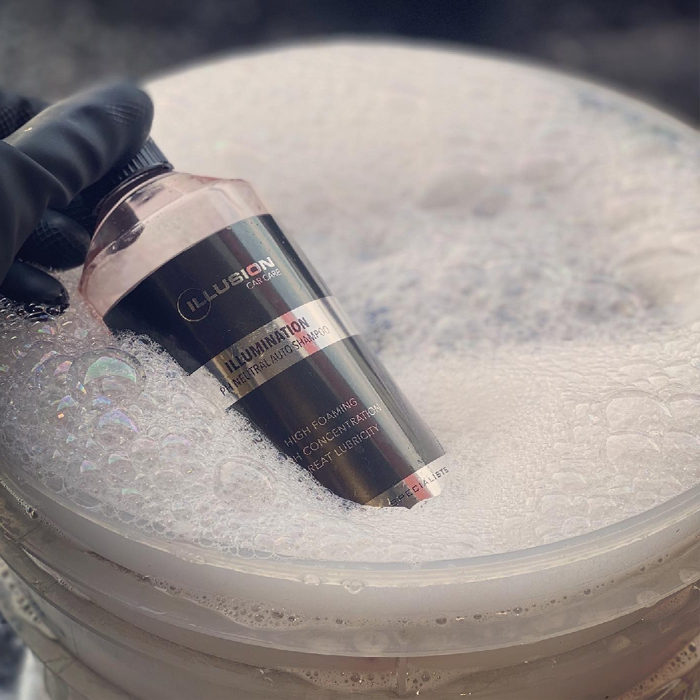
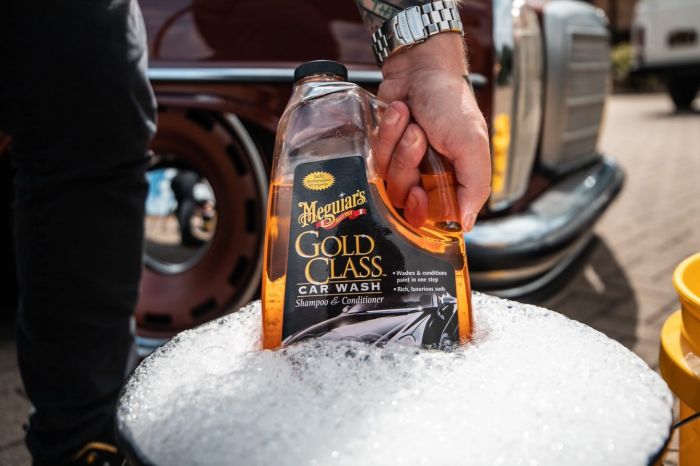
There are many different types of car care shampoos on the market, but it’s important to find ones that ones that won’t shorten all your hard work by actually removing any wax/sealant you have previously put on the car!
This is why it’s important to find a shampoo that is car friendly, there for its essential to opt for a wax / sealant friendly shampoo to ensure you get the best longevity from your protective layers. Some shampoos even contain wax-grade carnauba, and these are great for giving existing wax layers a boost each time you wash.
Step 4 - Grab your washmitt
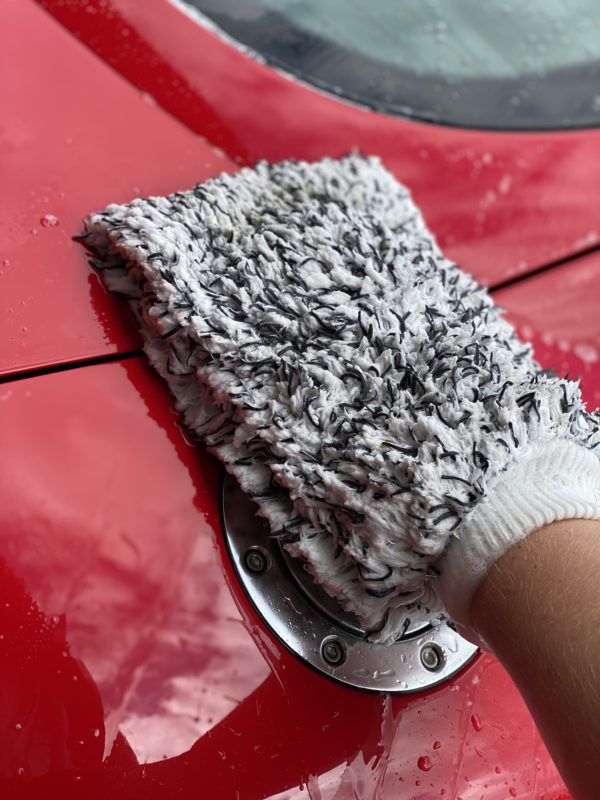
If using a wash mitt, It's best to grab a microfibre one because the softness of the wool and the long pile of the microfibre will lift dirt particles away from the paintwork and trap it in the pile, minimising the risk of scratching.
Step 5 - Finally The Wash!
After the above has been washed off and you are still out of that direct sunlight, as this will help prevent the soapy shampoo water from drying prematurely on the vehicle causing water spot marks which can be very difficult to remove. If you wish to go that one step further, you can have what is called the “Two Bucket Method” where you have your bucket one filled with your soapy shampoo water and the second being filled with normal water where you can deposit your wash mitt in to clean and remove any loose particles from within your wash mitt. This way is highly recommend if you don’t have a pressure washer.
(see below for more info on the "Two Bucket Method")
The Two Bucket method is a great way to prevent recontamination of paintwork.
The wash bucket contains warm soapy water “Bucket 1”, the rinse bucket will contain clean water “Bucket 2”.
Both buckets should have a Grit Guard in the bottom. Put a good quality wash mitt or wash pad into the wash bucket to load up with soapy water, wash a section of the vehicle, then place the dirty wash mitt into the rinse bucket, rubbing it over the Grit Guard at the bottom to release the dirt particles from the fibres.
With the wash mitt safely rinsed, dunk it back into the wash bucket and repeat! Washing in this way helps to keep the dirt particles in the bottom of the buckets under the Grit Guards.
Start at the top of the car and work towards the bottom. Use wash mitt with horizontal movements when washing rather than circular, as circular motions could make any swirls worse. Once the car has been shampooed, rinse it off with a free-running hose making sure the suds are completely washed away
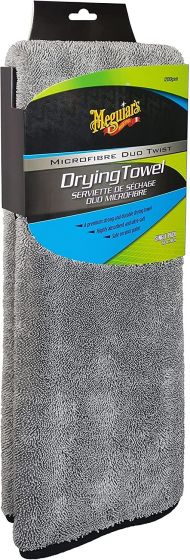
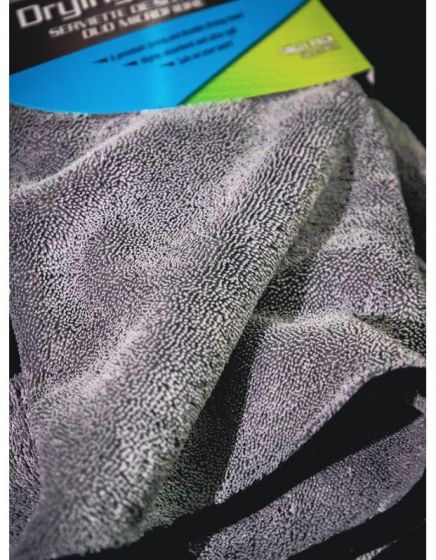
Step 6 – Choice of Drying Towels
Use a soft, absorbent waffle-weave or microfibre drying towel, Waffle-weave drying towels have absorption pockets to soak up huge amounts of water and don’t leave lint on the paintwork. Microfibre drying towels tend to feel softer to the touch but may take a couple of washes before the linting stops.
The larger drying towels, you simply start at the top, lay over the area and simply pull it slowly off and watch the water disappear - “Magic”.
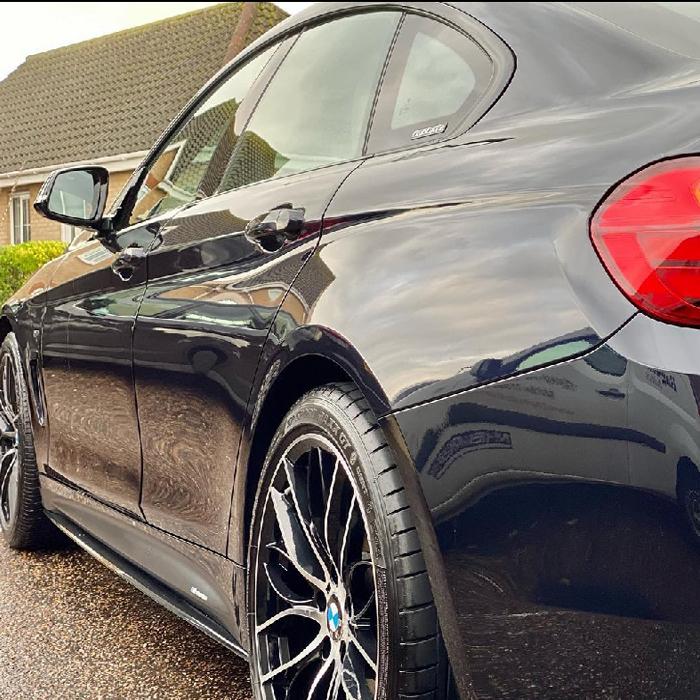
Step 7 – For that Extra shine
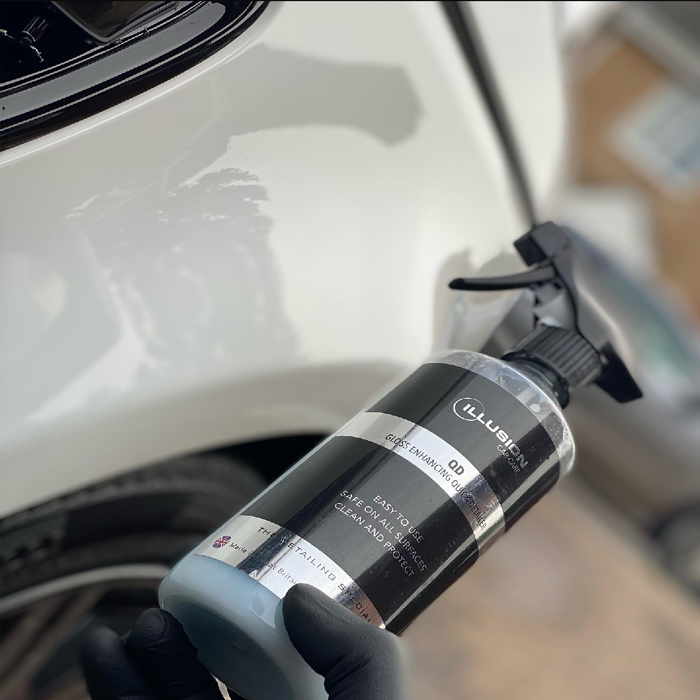
And it's well worth it, simply grab a quick detailer and spray onto your car and watch the gloss and shine show!
There are many different ones out there from “Ceramic Detailers” which aid the water run off your car! ( Sometimes known as the beading effect) and other detailers such as gloss enhancements to give that show time effect!
Simply spray onto your car and buff/wipe off using a soft microfibre cloth.

And Now sit back, flick the kettle on and watch it then rain !
Well, its Britain after all :)